The ServiceNow Decision Builder is a feature designed to streamline decision-making processes in workflows and business rules. It allows you to define complex logic using a visual and structured approach, making decisions consistent, reusable, and easier to maintain.
Here’s a detailed breakdown of the Decision Builder in ServiceNow:
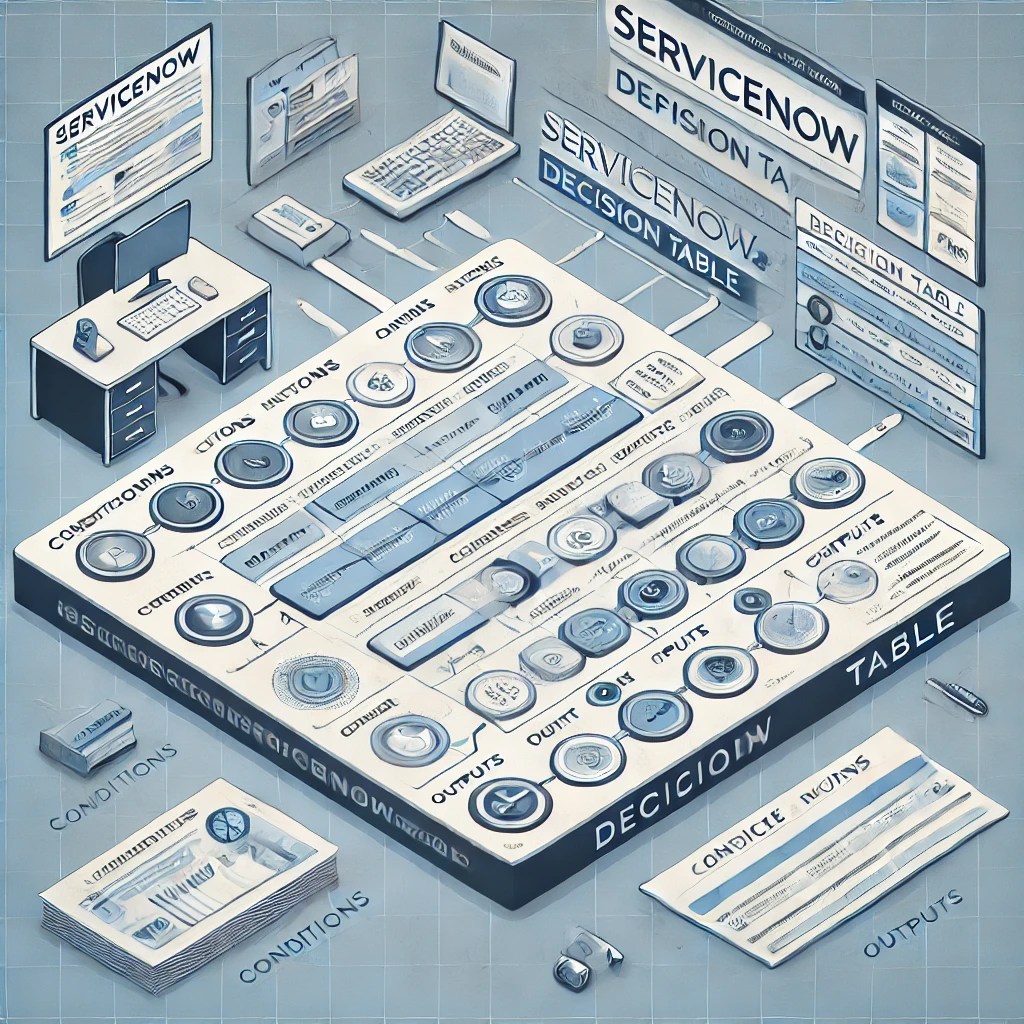
Overview of Decision Builder
- Purpose: Automates decision-making based on specific input parameters. For example:
- Deciding which team to assign a task based on task type and location.
- Determining the approval process based on cost and risk.
- Output: A structured decision that workflows, business rules, or other ServiceNow components can use.
Components of Decision Builder
- Inputs:
- Variables or parameters that feed into the decision-making process.
- Examples: Priority, Location, Request Type, Department.
- Conditions:
- Rules or logic that evaluate the inputs.
- Example: If “Priority” is “High” and “Location” is “North America,” then assign to “Team A.”
- Outputs:
- The result of the decision based on evaluated conditions.
- Example: Assignment Group, Approval Group, Risk Level.
- Decision Table:
- The core component where you define rules.
- Organized as rows (conditions) and columns (inputs, outputs).
Step-by-Step Guide to Building a Decision
1. Navigate to the Decision Builder
- Go to the ServiceNow instance.
- Open the application navigator and type Decision Builder.
- Click on Decision Builder under the application.
2. Create a New Decision
- Click on the New button.
- Provide a name for the decision (e.g., “Incident Assignment Decision”).
- Optionally, add a description for documentation purposes.
3. Define Inputs
Inputs are parameters that influence the decision.
- Click on the Inputs tab.
- Define each input by specifying:
- Name: Descriptive name of the input (e.g., “Priority”).
- Type: Data type (e.g., String, Integer, Boolean).
- Example: Provide an example value for clarity during testing.
Example Inputs:
| Input Name | Type | Example |
|---|---|---|
| Priority | String | High |
| Location | String | North America |
| Task Type | String | Incident |
4. Build the Decision Table
- Navigate to the Decision Table section.
- Add rows for each rule:
- Condition: Specify the logic (e.g., Priority = High AND Location = North America).
- Output: Define the result (e.g., Assignment Group = “Team A”).
Example Decision Table:
| Priority | Location | Task Type | Output: Assignment Group |
|---|---|---|---|
| High | North America | Incident | Team A |
| Medium | Europe | Incident | Team B |
| Low | Asia-Pacific | Request | Team C |
5. Test the Decision
- Go to the Test tab.
- Enter sample input values to ensure the decision works as expected.
- Review the outputs and adjust the table if needed.
6. Publish and Use the Decision
- Once tested, click Publish.
- The decision is now ready for integration into workflows, business rules, or scripts.
Using Decisions in Workflows
After creating a decision, it can be integrated with ServiceNow processes like the Flow Designer:
- Open Flow Designer:
- Navigate to Flow Designer in the application navigator.
- Add a Decision:
- Drag and drop the Decision action into your flow.
- Select the decision you created (e.g., “Incident Assignment Decision”).
- Map Inputs:
- Provide the values for the decision’s inputs. These can come from:
- Fields on a record (e.g., Priority from an incident).
- Static values (e.g., predefined priorities).
- Provide the values for the decision’s inputs. These can come from:
- Use Outputs:
- Use the decision outputs to perform actions in the flow.
- Example: If the output is an assignment group, use it to assign a task.
Best Practices
- Name Decisions Clearly:
- Use descriptive names for decisions, inputs, and outputs to avoid confusion.
- Test Extensively:
- Test with multiple scenarios to ensure the decision logic handles edge cases.
- Document Decisions:
- Add descriptions for inputs, outputs, and conditions to help other developers or administrators understand the logic.
- Reuse Decisions:
- Use decisions across workflows to avoid duplicating logic.
- Optimize Conditions:
- Order conditions logically to avoid unnecessary evaluations.
Example Scenario
Use Case: Routing an Incident
Inputs:
- Priority (High, Medium, Low)
- Location (North America, Europe, Asia)
- Category (Hardware, Software, Network)
Decision Table:
| Priority | Location | Category | Output: Assignment Group |
|---|---|---|---|
| High | North America | Hardware | NA_Hardware_Team |
| Medium | Europe | Software | EU_Software_Team |
| Low | Asia | Network | APAC_Network_Team |
Flow Designer Integration:
- Trigger: New incident created.
- Decision: Evaluate inputs (Priority, Location, Category).
- Action: Assign incident to the group specified in the output.
This approach reduces manual routing, improves consistency, and ensures incidents are handled efficiently.
Make a Sure if you are trying to trigger subflow using decision table then Subflow input name should be same as decision input name (Both display and backend Name).
Use of decision API to trigger subflow/flow/Action
Using the sn_dt.DecisionTableAPI class to trigger a subflow via the getDecision() method involves retrieving a decision table using its sys_id or name, processing it, and then using its outputs to trigger a subflow. Below is a step-by-step explanation and example.
Steps to Trigger Subflow Using sn_dt.DecisionTableAPI
- Retrieve the Decision Table:
- Use the
getDecision()method to retrieve the decision table object by its sys_id or name.
- Use the
- Set Inputs for the Decision:
- Provide the required input parameters for the decision table using
decision.setInputs().
- Provide the required input parameters for the decision table using
- Process the Decision:
- Use
decision.evaluate()to evaluate the decision and retrieve the outputs.
- Use
- Trigger Subflow:
- Use the FlowAPI (
sn_fd.FlowAPI) to start the desired subflow, passing the decision outputs as inputs.
- Use the FlowAPI (
Script Example: Trigger Subflow
Scenario
- Decision Table:
- Name: Incident Assignment Decision
- Inputs:
Priority,Location - Output:
Assignment Group
- Subflow:
- Name: Assign Incident
- Inputs:
Assignment Group(from the decision output),Incident Sys_ID
Script
javascriptCopy code// Create an instance of DecisionTableAPI
var dt = new sn_dt.DecisionTableAPI();

// Retrieve the decision using its sys_id or name
var decision = dt.getDecision('DECISION_TABLE_SYS_ID_OR_NAME');

// Check if the decision was found
if (!decision) {
    gs.error('Decision not found. Please check the sys_id or name.');
} else {
    // Set inputs for the decision table
    decision.setInputs({
        'Priority': 'High',
        'Location': 'North America'
    });

    // Evaluate the decision
    var result = decision.evaluate();

    // Check if the evaluation was successful
    if (result.error) {
        gs.error('Decision evaluation failed: ' + result.error.message);
    } else {
        // Retrieve the output from the decision
        var assignmentGroup = result.outputs['Assignment Group'];
        gs.info('Decision evaluated successfully. Assignment Group: ' + assignmentGroup);

        // Trigger the subflow using FlowAPI
        var flowAPI = new sn_fd.FlowAPI();
        var subflowSysId = 'SUBFLOW_SYS_ID'; // Replace with your subflow's sys_id

        // Inputs to the subflow
        var subflowInputs = {
            'Assignment Group': assignmentGroup,
            'Incident Sys_ID': 'INCIDENT_SYS_ID' // Replace with a dynamic value or test Sys_ID
        };

        // Start the subflow
        var flowResult = flowAPI.startSubflow(subflowSysId, subflowInputs);

        if (flowResult) {
            gs.info('Subflow triggered successfully. Execution Context ID: ' + flowResult);
        } else {
            gs.error('Failed to trigger subflow.');
        }
    }
}
Explanation of Key Steps
- Retrieve Decision:
- Use
getDecision('sys_id_or_name')to fetch the decision. - If the decision is not found, handle the error gracefully.
- Use
- Set Inputs:
- Pass the required input parameters (
Priority,Location) for the decision table. - These must match the input variables defined in the Decision Builder.
- Pass the required input parameters (
- Evaluate Decision:
- Call
decision.evaluate()to process the decision. - Check for errors in the evaluation process.
- Call
- Trigger Subflow:
- Use
sn_fd.FlowAPI().startSubflow()to start a subflow. - Pass the subflow’s sys_id and inputs (including decision outputs) to the subflow.
- Use
- Handle Subflow Result:
- Log the execution context ID returned by
startSubflow()for monitoring or debugging. - Handle failures if the subflow does not trigger successfully.
- Log the execution context ID returned by

Leave a comment